Table of Contents
 This week we have a Review of SendPulse Mailing Package from guest article from Vincent Cooke.
About The Author
Vincent is an experienced online marketing expert. In his free time, he writes about marketing, business and personal development.
Over to Vincent….
Using Email Marketing
Email marketing is definitely a tough and complicated task if you don’t have access to all necessary tools and applications.
In order to be successful in email marketing, you need
- A powerful SMTP server
- An application to manage all your contacts
- Mobile responsive newsletter templates
- And the list goes on.
Now you can either purchase subscriptions to all these tools and templates individually or you can register for free on SendPulse and get access to all these tools.
SendPulse Review
SendPulse is an email marketing platform that was founded back in 2015 with the aim of simplifying email marketing. Currently, it’s managed by a team of 35 professionals from all across the globe who are always eager to help you.
Today I will walk you through all the steps required to properly setup and create an email marketing campaign.
Step 1: Create an account
If you are just starting as an internet marketer, then I will suggest you subscribe to the free subscription plan, but if you are already into the online marketing world and have more than 2500 subscribers, then you will have to subscribe to a monthly subscription plan. The premium subscription starts at just $9.85 per month and gives you access to all features this platform has to offer.
In order to create an account, you need to first visit this link and then you have to click on the red colored “try free” button.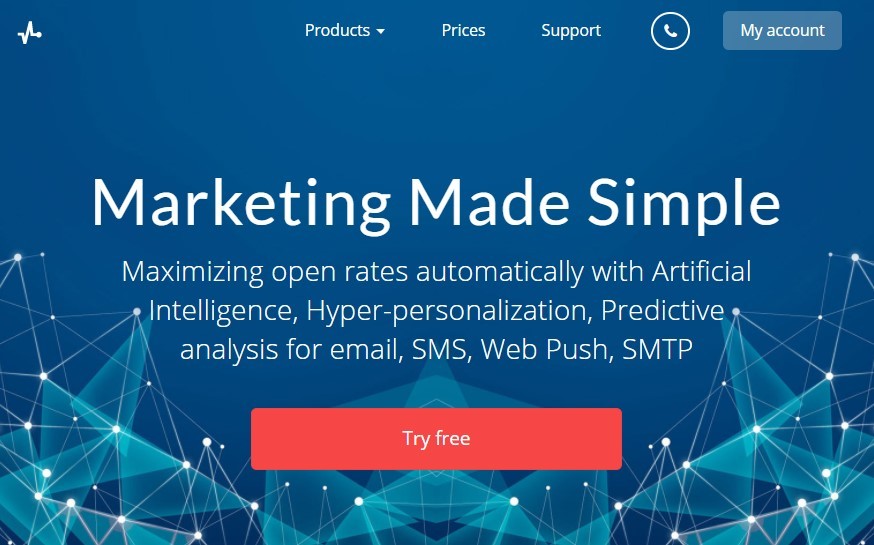
Now a popup will appear, enter all the requested details and you are ready to start your journey with SendPulse.
Step 2: Create Mailing List
After creating the account, your first and foremost task is to create a Mailing List. It’s where all the information related to your subscribers will be stored. If you already have subscribers, then you can import your subscribers list to your mailing list.
Step 3: Creating A Campaign
So, you have successfully registered and verified your account. Now it’s time to create a new campaign and to check out all features of this platform.
In order to do so, you will have to first login to the control panel and then you have to click on “Create a campaign”.
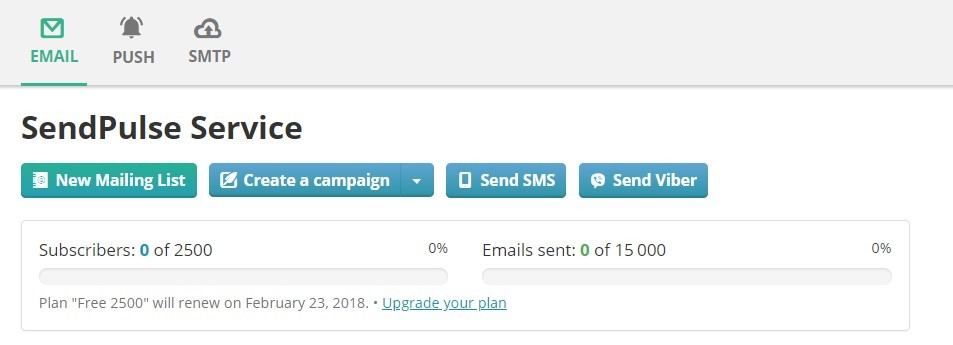
Now a setup wizard will open and you will have to just follow the steps and enter the correct details wherever needed.
The setup wizard consists of 3 steps:
- Information about the campaign
- Template and message text
- Review and sending
You have to complete each step successfully if you don’t want your emails to end up in subscribers’ spam folders.
In the first step, you will be asked to select the default Mailing list along with sender’s email address, sender’s name, and the subject line.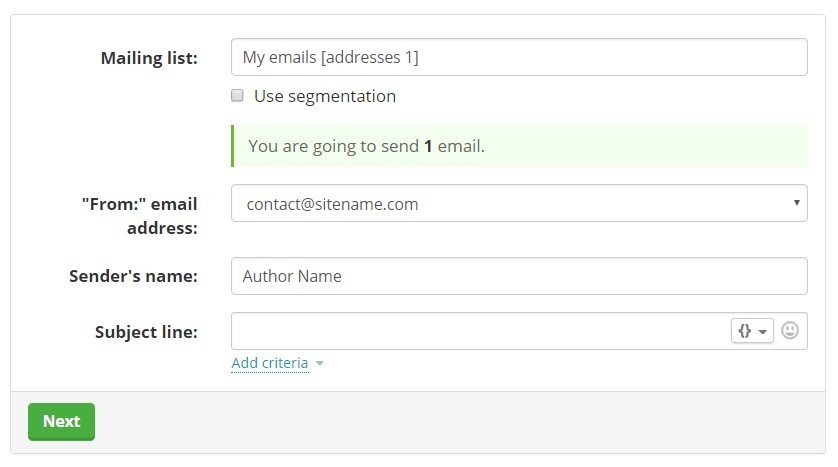
In the second step, you will be asked to choose the template layout structure. For the sake of this guide, I am selecting the basic template.
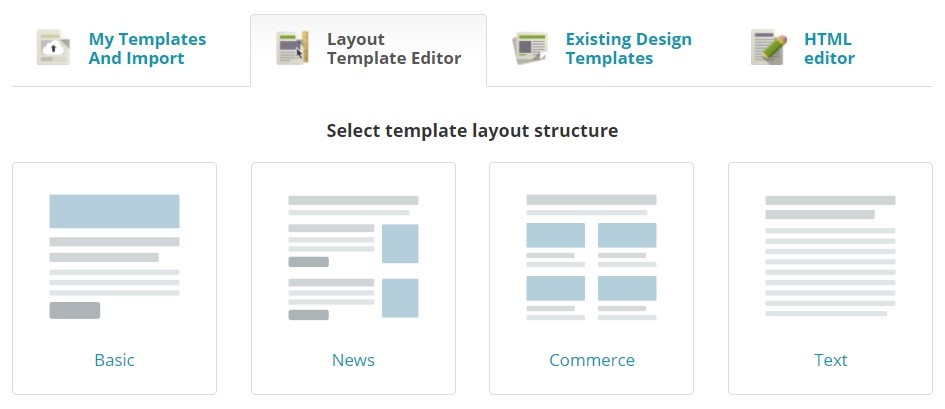
Now the newsletter template constructor will open along with the default template. You can use the various options available within the constructor page to customize the layout of your newsletter.
Once you are done with customizing the template, simply click on the “Save and continue” button. In case you have missed any important information, a popup will appear with a message “Please enter missing data”. Provide all the necessary details and then click “Save” button.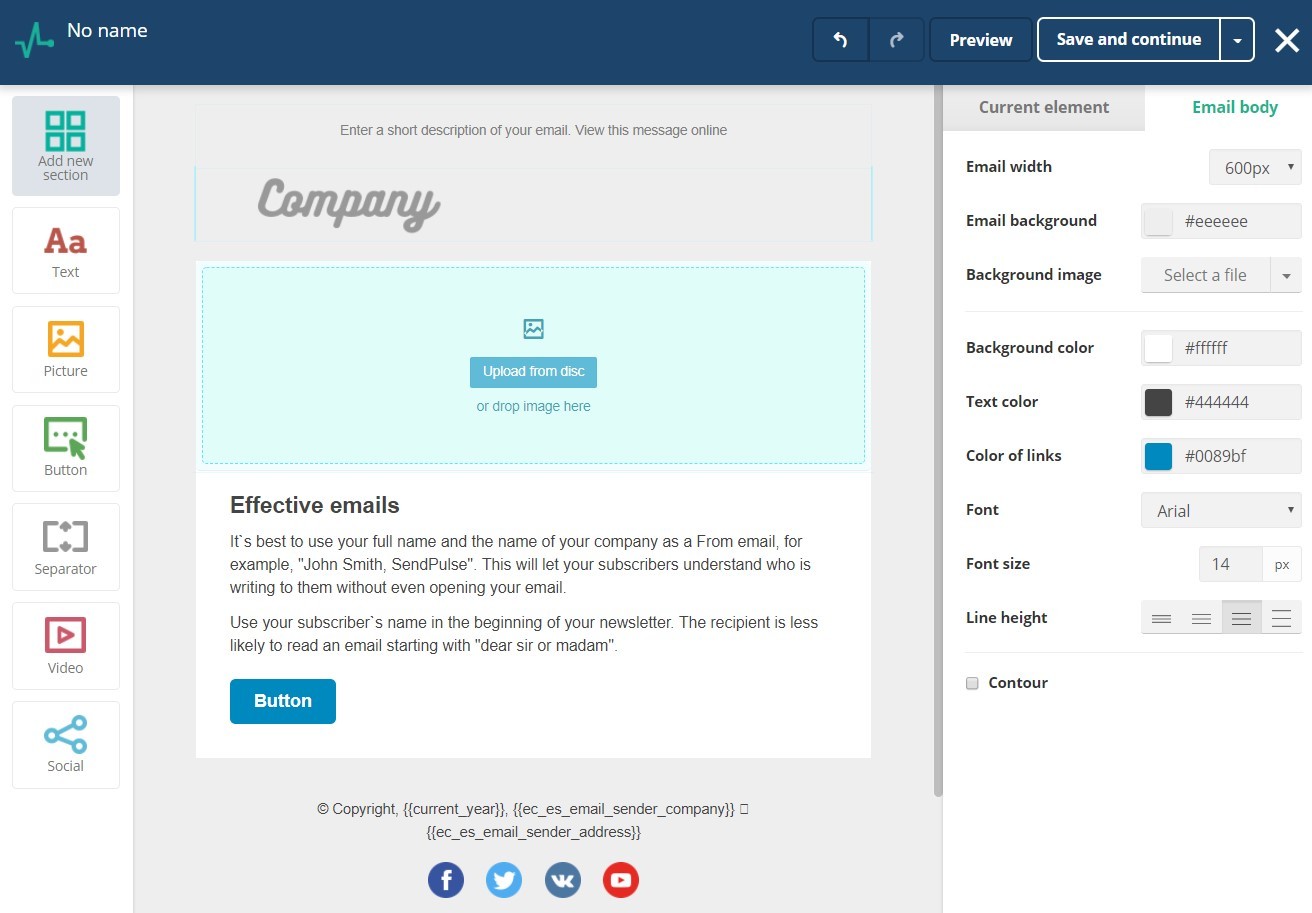
After you click on the “Save” button, you will be taken to the third and the final step, which is review and sending.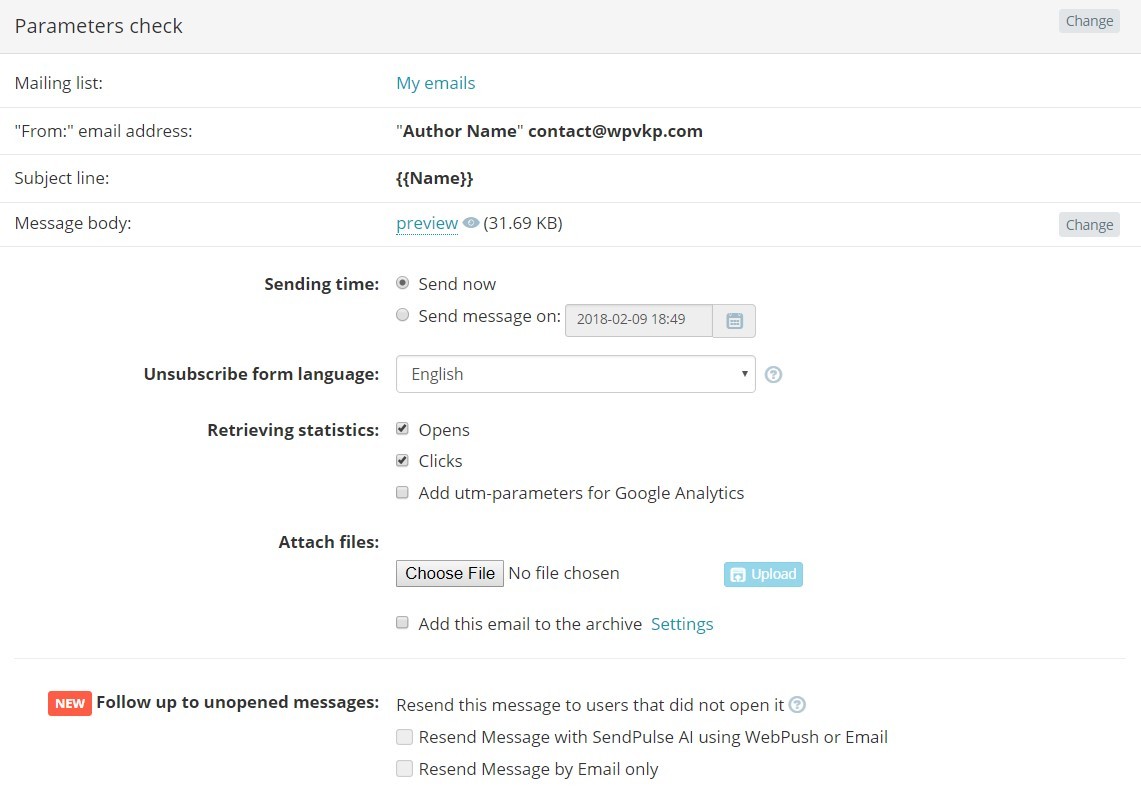
Just as you can see in the image attached above, you are provided with all the details, settings and information you have made and provided. If you think something is wrong or needs to be changed, you can do so by clicking on the “Change” button.
Once you have made all necessary changes, you can either click on the “Test Email” button to see if everything is working fine or you can click on the “Start” button to start the campaign.

Congratulations, you have now successfully created your first email marketing campaign. Now, you can create awesome newsletters and can send them directly to your subscribers with literally just one single click.
Other Important Features of SendPulse
A/B Testing: Is an advanced feature which allows you to track your newsletter or better to say your campaign performance.
With the help of A/B testing, you can track open and click-through rates. You can track the performance of your individual newsletters and then you can use all these data to further improve your open and click rates.
What’s even more interesting is that SendPulse allows free users to access this tool. It’s something for which other email marketing platforms charge a hefty amount.
Subscription Forms: If you want to add newsletter subscription forms on your website without using any other plugins or without coding, then you can use SendPulse’s pre-built forms. You can customize the colors and fields and once you are done with customizations you have to just enter the provided code on your website. That’s all.
Automation: As the name sounds, automation allows you to create autoresponders. They are usually triggered when a new visitor becomes your subscriber, when any specific condition is met or when you setup email based on date.
Pricing
Almost every single feature (90%) is accessible to free users. The only limitation which free users have is on the number of subscribers in your list. But I think 2500 limit is quite generous when compared with GetResponse or Aweber.
Getting back to the point, SendPulse has 3 types of premium plans and they are:
- Monthly Subscription
- Pay as you go
- VIP Plan
The monthly subscription is mainly based on the size of your subscribers list. The plans start with $9.85 for 2500+ subscribers and go as high as $7,000 for 5,000,000 subscribers.
Pay as you go is a prepaid plan and its pricing is mainly based on the number of emails you send. The starting price is $32 for 10,000 emails.
VIP plan is for those who have more than 1,000,000 subscribers and also need to send regular emails.
Note: All of the above-listed plans are to lift the limit on the number of subscribers or the number of emails sent.
There is one another category which is “SMTP service”. With every plan listed above, you get 12,000 free emails. But if you exceed that then there is different pricing plan for that.
The Monthly SMTP Service Plan starts from $8.85 and allows you to send as many as 25,000 messages.
You can also opt for Pay as you go model which starts at $15 and allows you to send 10,000 messages.
You can find the complete list of pricing plans on the official page.
Advantages & Disadvantages of SendPulse
Below are few of the advantages of choosing SendPulse:
- Free plan gives access to almost all features.
- Generous subscribers limit.
- 12,000 free message limit.
- Access to advanced tools like A/B testing, Automation.
- Ability to resend unopened emails
- Customer support team always eager to help .
Disadvantages:
- The pre-built subscription forms are not attractive.
- The SendPulse WordPress plugin is not as feature rich as the MailChimp plugin.
Have You Tried SendPulse?
Thanks, Vincent, for that review of SendPulse.
I hadn’t tried it myself, but must confess that as my paid autoresponder subscription becomes due, it’s tempting to give SendPulse a try.
If you have used SendPulse, please comment below, and share the article.


